This is how I got nagios to install on my Ubuntu 9.10 x86 server (LAMP):
***EDIT*** I’ve upgraded the 9.10 x86 server to 10.04LTS x86 and Nagios is still running like a champ. FYI.
This assumes you’ve already got LAMP up and running on the box and have at least a little common sense when it comes to linux commands. I still use putty to connect via SSH to my box. I also cheated and made it so I don’t do sudo (sudo passwd root, then su into root). If you don’t want to do that, just add ‘sudo’ in front of all the commands.
Update your box:
apt-get update
apt-get upgrade
apt-get dist-upgrade
Install the GCC compiler development libraries:
apt-get install build-essential
Install GD development libraries:
apt-get install libgd2-xpm-dev
Create a new user “nagios”:
useradd -m -s /bin/bash nagios
Make a password for the new user:
passwd nagios
Create a new group “nagcmd”
groupadd nagcmd
usermod -a -G nagcmd nagios
usermod -a -G nagcmd www-data
Download the nagios files – I use /home/username as my download point:
wget http://prdownloads.sourceforge.net/sourceforge/nagios/nagios-3.2.0.tar.gz
wget http://prdownloads.sourceforge.net/sourceforge/nagiosplug/nagios-plugins-1.4.14.tar.gz
Extract and compile the files:
tar xzf nagios-3.2.0.tar.gz
cd nagios-3.2.0
./configure --with-command-group=nagcmd
make all
make install
make install-init
make install-config
make install-commandmode
make install-webconf
Create a nagiosadmin account for the web interface:
htpasswd -c /usr/local/nagios/etc/htpasswd.users nagiosadmin
Restart Apache
apache2ctl restart
That should be it for the installation phase of the main application. You can verify that everything works by viewing the site: http://localhost/nagios (or http://ipofserver/nagios) and logging in using nagiosadmin/thepasswordyoupicked. But now we should probably put the plugins in place before actually going through any other setup.
Unpack the plugins:
tar xzf nagios-plugins-1.4.14.tar.gz
cd nagios-plugins-1.4.14
Configure and install the plugins:
./configure --with-nagios-user=nagios --with-nagios-group=nagios
make
make install
Verify that the sample nagios configuration files are fine:
/usr/local/nagios/bin/nagios -v /usr/local/nagios/etc/nagios.cfg
If there are no errors you can start nagios:
/etc/init.d/nagios start
http://localhost/nagios
Click on the Tactical Overview navbar link to see all that’s monitored right now. This may take a few moments to load as to not “kill” the machine with requests.
http://www.monitoringexchange.org/
INSTALL CLIENT ON WINDOWS MACHINE(S):
I’ve installed on WindowsXP 32, Windows Server 2003 32/64, and Windows 7 64bit without any issues.
Setting up for Windows Machine monitoring is a little more in depth:
Download the NSClient++:
http://nsclient.org/nscp/downloads
Extract to the C:\ directory
Open a CMD prompt and navigate to C:\NSClient++-0.3.7-Win32
Install the Service and System Tray:
The system tray gave me some issues on a Windows 7 x64 box. FYI.
nsclient++ /install
nsclient++ SysTray -install
Configure the NSClientpp Service:
Open up services (services.msc) and find NSCLientpp (Nagios)
Right-Click and select properties
Click on the Log On tab and make sure the Local System account can interact with the desktop
Edit the INI file:
Navigate to C:\NSClient++*\
Edit NSC.INI
Uncomment the following:
FileLogger.dll
CheckSystem.dll
CheckDisk.dll
NSClientListener.dll
NRPEListener.dll
SysTray.dll
CheckEventLog.dll
CheckHelpers.dll
Uncomment the hosts allowed file – either add the IP address of the Nagios server or just leave it blank and it will accept from all IPs.
Save the file, Start the service – I’ve had it work without interact with desktop, but it was recommended by Nagios to enable that feature.
Back on the Nagios server, edit the /usr/local/nagios/etc/objects/windows.cfg file to the liking of your windows machine.
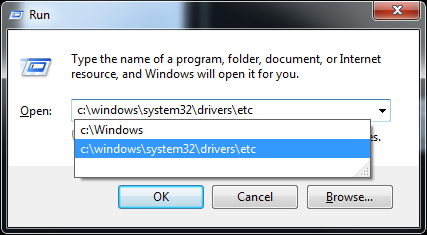
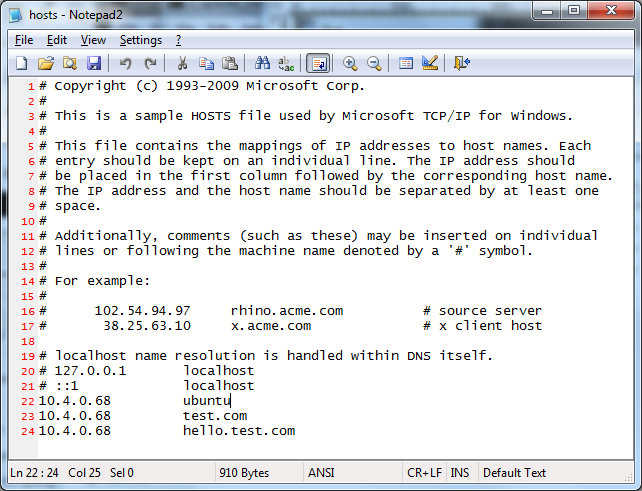
You may have to add the host name/ip to your /etc/hosts file to rid yourself of errors
Verify your setup can run:
/usr/local/nagios/bin/nagios -v /usr/local/nagios/etc/nagios.cfg
Then restart nagios:
/etc/init.d/nagios restart
Now you should be done. Login to your http://serverip/nagios site with your nagiosadmin/passwordyouchoseearlier account information.
As a side note, I also edited /usr/local/nagios/etc/nagios.cfg for the admin_email= to send email to my account. I already have postfix installed from another project, so it *should* send me alert emails. AND I found that you have to edit /usr/local/nagios/etc/objects/contacts.cfg as well. After editing make sure you restart the nagios service.
***EDIT***
I was receiving the emails just fine, but they were coming from the “wrong domain”. Ubuntu/debian puts the domain name by default in the /etc/mailname file. Edit that file and then reload postfix.
nano /etc/mailname
postfix reload
If the file does not exist (you’re creating a new file with nano), type in your domain name (ie thelibrarie.com), and then save the file. Then edit the postfix configuration and uncomment myorgin.
nano /etc/mailname
nano /etc/postfix/main.c
myorigin = /etc/mailname
And then try it again. You can test it out by sending yourself some mail:
mail -s test username@domain.tld
body
Control + D
Control + D
I also realized that I put how to install the client on Windows machines, so I should probably mention that in the subject, eh?
***EDIT***
OK, I had to add another user to be able to view the status of the systems.
Add the User:
SSH to your nagios system
htpasswd /usr/local/nagios/etc/htpasswd.users USERNAMEHERE
apache2ctl restart
Add the permissions:
nano /usr/local/nagios/etc/cgi.cfg
Search under GLOBAL HOST/SERVICE VIEW ACCESS
Change:
authorized_for_all_services=nagiosadmin
authorized_for_all_hosts=nagiosadmin
to:
authorized_for_all_services=*
authorized_for_all_hosts=*
Or you can comma-delimit the users. Either way, I win.
Restart nagios.
/etc/init.d/nagios restart
***EDIT 2***
Need more plugins? http://nagios.manubulon.com/
***EDIT 3***
There will be a new post regarding editing Nagios to add images to the map/new users/parents of configurations etc.

